
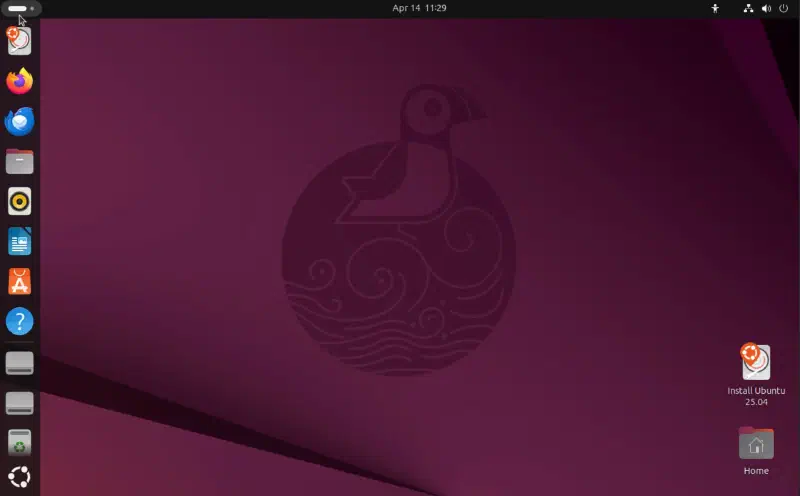
Written for Ubuntu 25.04. For Ubuntu 26.04 LTS (Resolute Raccoon) the steps are the same — download it from releases.ubuntu.com/resolute — and the installer may look slightly different.
Assuming you’re still here: 30–45 minutes, at least 30GB free, and an 8GB USB stick.
Prepare Windows#
Skipping any of these is how people end up with a corrupted Windows partition.
- 1
Back up
You’re about to resize the partition your operating system lives on. Windows Backup, an external drive, cloud — whichever, as long as it exists. - 2
Check the firmware mode
Win + R,msinfo32, “BIOS Mode”. UEFI is what anything from the last decade uses, and the rest of this guide assumes it. - 3
Shrink C:
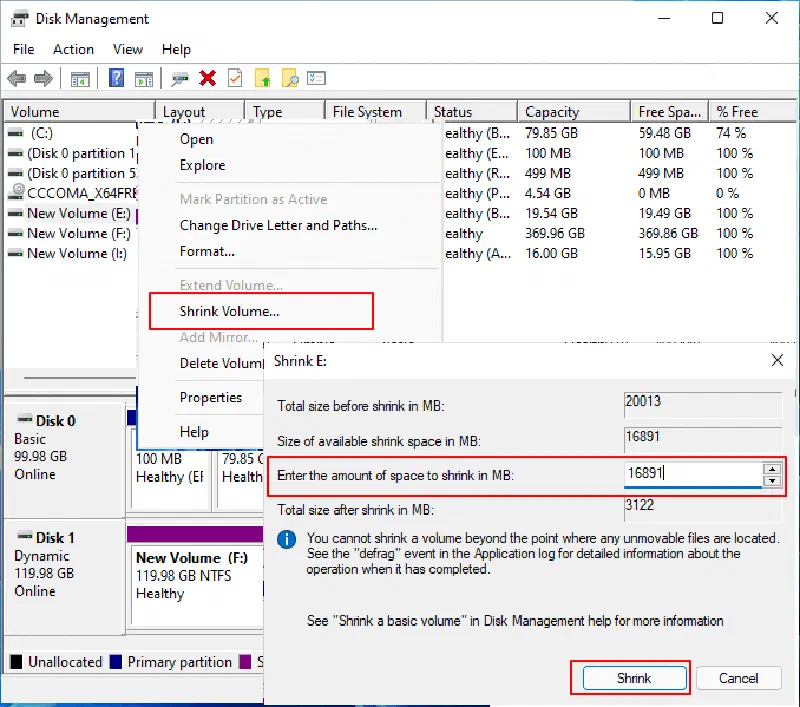
Win + X → Disk Management, right-click C: → Shrink Volume, amount in MB: 30000 is the floor, 50000 is comfortable, 100000 if you’ll actually work in there. If Windows won’t shrink as far as you want, runcleanmgrand clear the Windows Update files — the limit is usually immovable system files near the end of the volume, not free space. - 4
Turn off Fast Startup
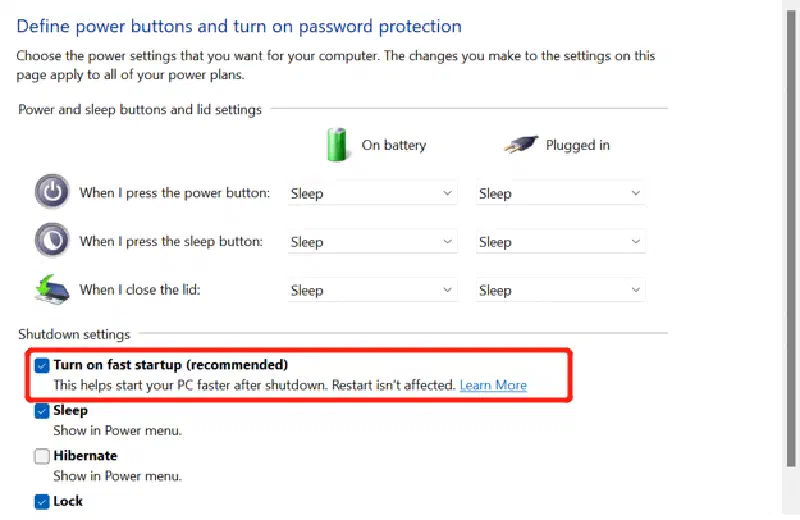
Control Panel → Power Options → Choose what the power buttons do → Change settings that are currently unavailable → untick Turn on fast startup. With it on, Windows never really shuts down: it hibernates, and leaves NTFS in a state Linux won’t mount for writing. - 5
Turn off BitLocker, if it’s on
An encrypted volume can’t be resized, and a firmware change can lock you out behind your own recovery key. Check withmanage-bde -status, decrypt withmanage-bde -off C:, and let it finish — interrupting it is worse than waiting.
The installation media#
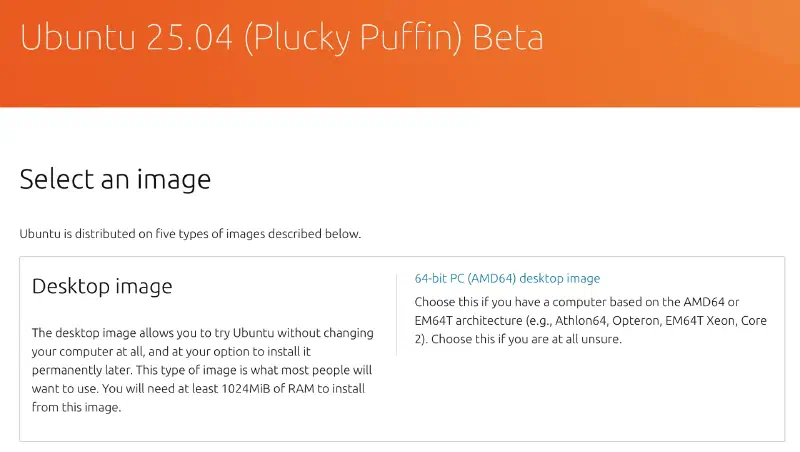
Ubuntu 25.04 is at releases.ubuntu.com/plucky, 26.04 LTS at releases.ubuntu.com/resolute.
Check the download before you write it — a truncated ISO installs most of an operating system and then fails somewhere unhelpful:
Get-FileHash -Algorithm SHA256 -Path path\to\ubuntu-25.04-desktop-amd64.isoCompare against SHA256SUMS on the download page.
Rufus writes it: select the drive, select the ISO, partition scheme GPT for UEFI, START → Write in ISO Image mode. MBR makes a stick for legacy BIOS boot, which a UEFI machine won’t offer as a boot option.
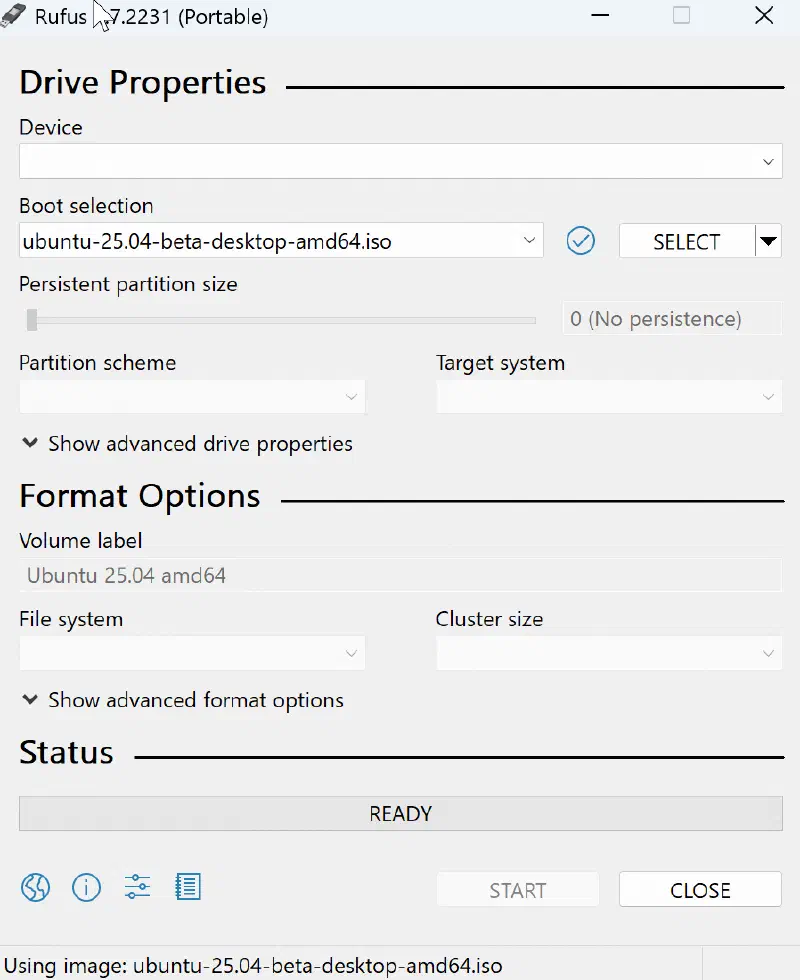
Alternatively, Ventoy lets you copy multiple ISOs to one USB without re-flashing.
Install Ubuntu#
Into the firmware setup first — F2, F12, Del or Esc, depending on the board. SATA to AHCI and Intel RST off are the two that matter: with RST enabled, the Ubuntu installer simply does not see your disk, and the error it gives you says nothing about RST. Set USB as the first boot device while you’re there. Secure Boot can stay on — Ubuntu ships a signed bootloader.
Switching SATA from RST/RAID to AHCI can stop Windows booting. Do it before the install, boot Windows once to confirm it still starts, and only then continue.
Boot the stick, Try or Install Ubuntu, language, keyboard, Wi-Fi. Then the partitioning choice:
Select Manual installation, and in the unallocated space:
- EFI: reuse the existing EFI System Partition — don’t create a second one
/: 20–30GB, ext4/home: the rest, ext4
No swap partition needed; Ubuntu creates a swap file.
Confirm, set the timezone, create the user, wait 10–15 minutes. Pull the USB when it asks and reboot.
After the first boot#
sudo apt update && sudo apt upgrade -y
sudo apt install -y ubuntu-restricted-extras timeshift

# NVIDIA, if you have one
sudo ubuntu-drivers install
On a laptop, tlp is worth adding for battery life. It replaces Ubuntu’s power-profiles-daemon — apt removes that when it installs tlp, and the two shouldn’t run together.
Then the one fix specific to dual boot. Windows keeps the hardware clock in local time, Linux keeps it in UTC, so each one “corrects” it on every boot and the clock walks by your timezone offset every time you switch. Fix it on one side:
Tell Windows the hardware clock is UTC, from an admin terminal, then reboot:
reg add "HKLM\System\CurrentControlSet\Control\TimeZoneInformation" /v RealTimeIsUniversal /d 1 /t REG_DWORD /fKeep the hardware clock in local time instead:
timedatectl set-local-rtc 1 --adjust-system-clockIt works, but timedatectl warns about it: DST changes are only applied while Linux is running.
Living with it#
The Windows drive appears in the Ubuntu file manager on its own, and it’s writable — as long as Fast Startup is off.
The other direction needs help, because Windows can’t read ext4 natively. With WSL2 installed, wsl --mount attaches the physical partition to WSL, from an admin terminal, and File Explorer reaches it through \\wsl$\<distro>\mnt\wsl\:
Get-Disk                                                   # disk N is \\.\PHYSICALDRIVE<N>
wsl --mount \\.\PHYSICALDRIVE0 --partition 3 --type ext4   # your disk and partition
Or Paragon Linux File Systems for Windows.
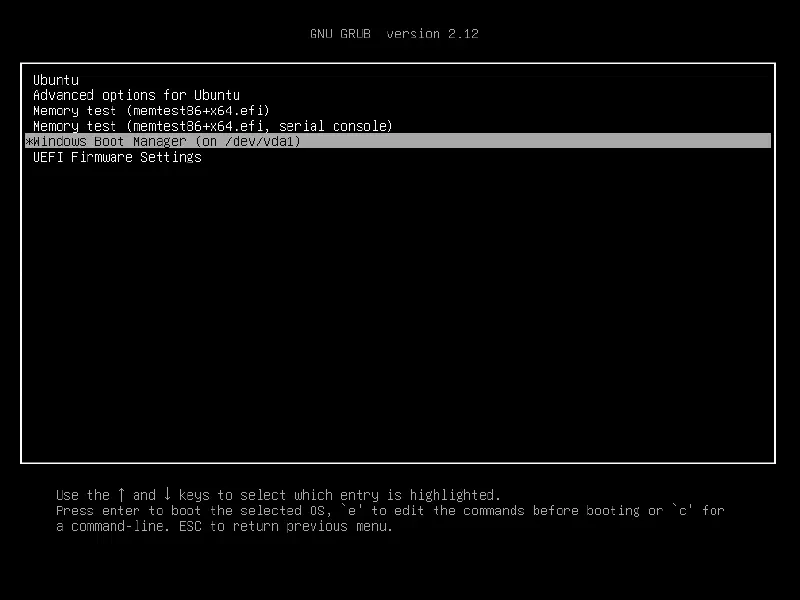
GRUB boots Ubuntu by default. To change which entry wins, edit /etc/default/grub: set GRUB_DEFAULT to the entry number, GRUB_TIMEOUT=10 if you want more time to choose, then:
sudo update-grubAnd set up snapshots before you need them, not after:
sudo timeshift --create --comments "Fresh Ubuntu installation"Troubleshooting#
Windows isn’t in the GRUB menu. Since GRUB 2.06, os-prober is off by default. Turn it on and rebuild the menu:
echo 'GRUB_DISABLE_OS_PROBER=false' | sudo tee -a /etc/default/grub
sudo update-grub
Ubuntu stopped booting after a Windows update. Usually Windows Boot Manager put itself first in the firmware boot order. Move Ubuntu back to the top in the firmware setup; if the entry is gone, boot the Ubuntu USB in “Try Ubuntu” mode and repair it:
sudo add-apt-repository ppa:yannubuntu/boot-repair
sudo apt update
sudo apt install boot-repair
boot-repair
Choose “Recommended repair”.
Secure Boot refuses a kernel module — usually the NVIDIA driver. Third-party modules have to be signed with a Machine Owner Key that the firmware trusts. Enrol Ubuntu’s key, set a one-time password, and reboot:
sudo mokutil --import /var/lib/shim-signed/mok/MOK.derThe blue MOK Manager screen appears once on the next boot: Enroll MOK, enter the password, continue.
Windows won’t boot at all. From Windows installation media → Repair your computer → Troubleshoot → Advanced Options → Command Prompt, rebuild its boot files in the EFI partition:
bcdboot C:\Windows /f UEFIThe drive letter can differ in the recovery environment — dir C:\Windows confirms it first.
Undoing it#
Dropping Ubuntu: in Windows, Disk Management → delete the Ubuntu partitions → extend C: into the space. Then remove GRUB from the EFI partition, or the firmware keeps offering a boot entry with no Linux behind it — from an admin prompt:
mountvol S: /s
rmdir /s /q S:\EFI\ubuntu
Put Windows Boot Manager first in the firmware boot order.
Dropping Windows: in Ubuntu, delete the Windows partitions with GParted, expand Ubuntu into the space, then rebuild the menu:
sudo update-grubThe one thing worth knowing before you start: the failure mode of this whole procedure isn’t losing Linux. It’s a Windows update quietly taking the boot order six months from now, on a morning when you need the machine. Keep the USB stick.