merox-erudite: A Customized Astro Theme
A fork of astro-erudite v1 with comments, analytics, SEO schemas, and an enhanced homepage — built for production blogging.
I started this blog on astro-erudite — a clean, minimal template. Over several months I kept adding things: comments, analytics, schema markup, a homepage that actually said something about me. At some point the diff was large enough that keeping it as silent local patches didn’t make sense anymore, so I published it as a fork: merox-erudite.
Most of this was built with Claude Code and Cursor. I gave it well-defined prompts, reviewed everything, kept pushing until it was clean with no workarounds. I’m a sysadmin, not a web developer — this was a genuine experiment in how far you can get with AI tooling when you know what you want but don’t know the framework well.
Important (Update — June 2026)
This post documents merox-erudite, a fork of astro-erudite v1. merox.dev has since migrated to astro-erudite v2, which is a complete rewrite: no Tailwind, no React, no MDX by default, IBM Plex Sans fonts, Sätteri Markdown pipeline, native callout directives, and collapsible code sections. The merox-erudite fork remains available for v1 users, but I no longer maintain it actively.
Warning
Built out of passion with basic programming knowledge. It works for my use case but may contain bugs or suboptimal code. Use at your own discretion — issues and PRs welcome on GitHub.
The reason for a fork rather than contributing back: some features (AdSense) don’t fit the original theme’s minimal philosophy, and the scope of changes is too personal to be a reasonable upstream PR. astro-erudite stays minimal; merox-erudite is batteries-included.
What I Added
Giscus Comments — GitHub Discussions integration with lazy loading, Astro view transition support, and automatic dark/light theme sync. Optional: if not configured, the component doesn’t render. Requires a public GitHub repo with Discussions enabled.
Analytics — Google Analytics and Umami, both optional via environment variables:
PUBLIC_GOOGLE_ANALYTICS_ID=G-XXXXXXXXXXPUBLIC_UMAMI_WEBSITE_ID=your-umami-idSEO Schemas — Reusable FAQ Schema and HowTo Schema components for structured data and voice search.
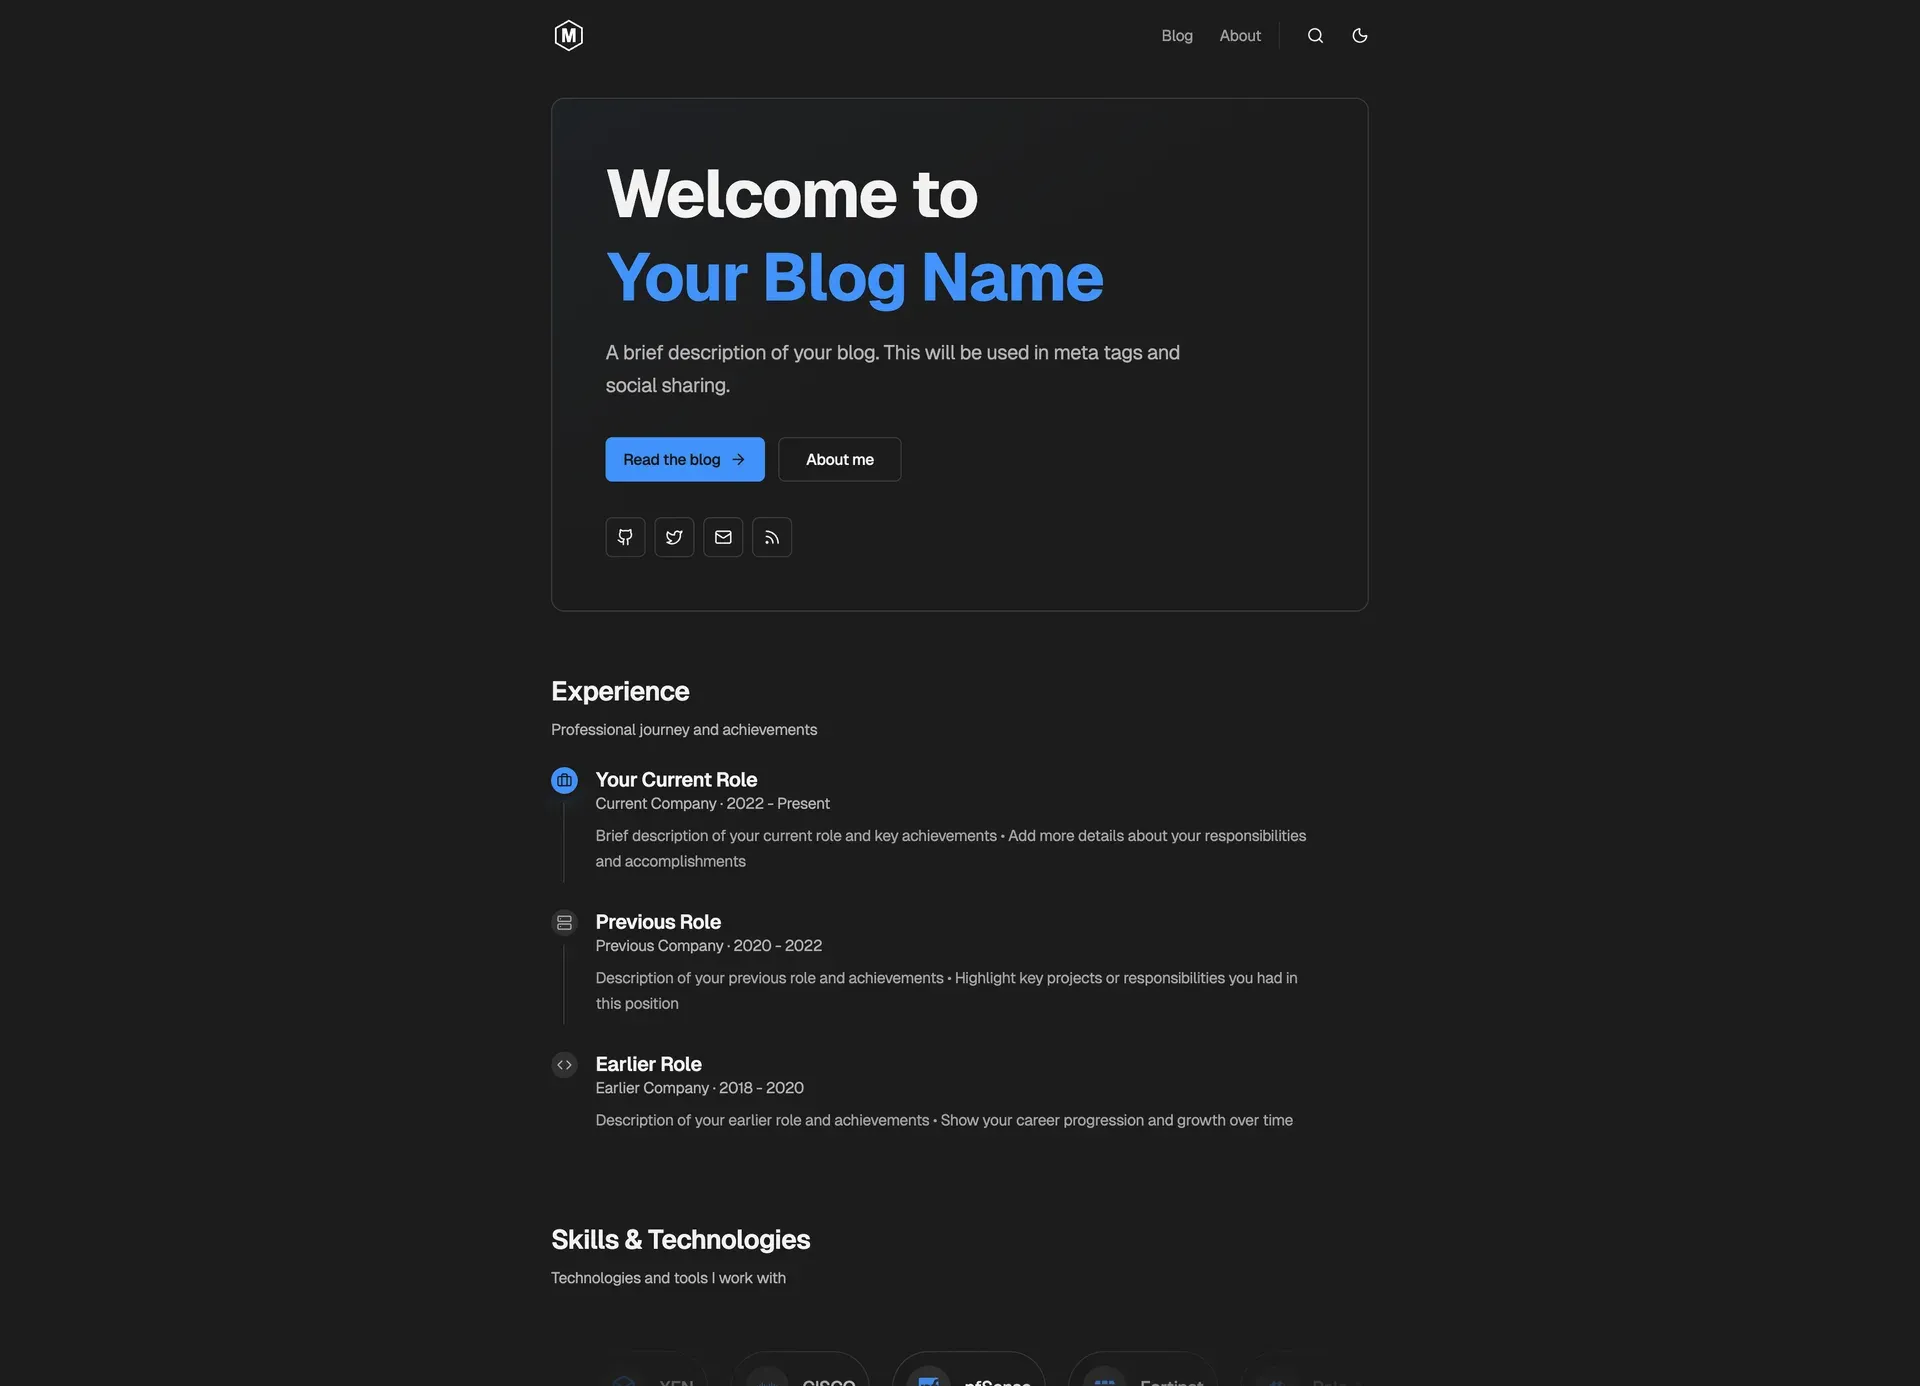
Enhanced Homepage — Experience timeline, skills showcase with animated badges, and an updated hero section. The timeline is configured in src/pages/index.astro:
const experience: ExperienceItem[] = [ { role: 'Your Role', company: 'Company Name', period: '2020 - Present', current: true, icon: 'lucide:briefcase', key: 'Your achievements and responsibilities' },]Design — Geist variable fonts, improved contrast and dark mode, better focus indicators for keyboard navigation.
Feature Comparison
| Feature | astro-erudite v1 | merox-erudite |
|---|---|---|
| Comments | ❌ | ✅ Giscus (GitHub) |
| Analytics | ❌ | ✅ GA & Umami |
| SEO Schemas | Basic | ✅ FAQ & HowTo |
| Homepage | Standard | ✅ Enhanced with timeline |
| Fonts | System | ✅ Geist variable fonts |
| AdSense | ❌ | ✅ Built-in component |
Getting Started
- Click “Use this template” on the merox-erudite repository
- Clone and install:
Terminal window git clone https://github.com/YOUR_USERNAME/YOUR_REPO_NAME.gitcd YOUR_REPO_NAMEnpm install - Start dev server:
Available at
Terminal window npm run devhttp://localhost:1234 - Update
src/consts.tswith your site info - Configure optional features via environment variables
Warning
For the original theme’s architecture and design documentation, see the astro-erudite repository by @jktrn.
Deployment on Cloudflare Pages
Free tier, global CDN, automatic GitHub deploys, and straightforward environment variable management.
Build settings (auto-detected for Astro, but if needed):
- Build command:
npm run build - Output directory:
dist - Node version: 20.x+
Environment variables — add in Cloudflare Dashboard → Settings → Environment Variables:
PUBLIC_GOOGLE_ANALYTICS_ID=G-XXXXXXXXXXPUBLIC_UMAMI_WEBSITE_ID=your-umami-id
PUBLIC_GISCUS_REPO=username/repoPUBLIC_GISCUS_REPO_ID=your-repo-idPUBLIC_GISCUS_CATEGORY=Blog CommentsPUBLIC_GISCUS_CATEGORY_ID=your-category-idTip
Get your Giscus values from giscus.app after enabling Discussions on your repo.
Credits
- astro-erudite by @jktrn — original design and architecture
- Astro Micro by trevortylerlee — inspiration
- Cursor — development tool